
Building a Bycicle
How to build a bicicle?
Needed tools
Wire stripper, wire cutter, tweezers, soldering iron, lighter, LED, resistor, soldering tin, flux agent, shrinking tube, tape, super glue, enameled copper wire
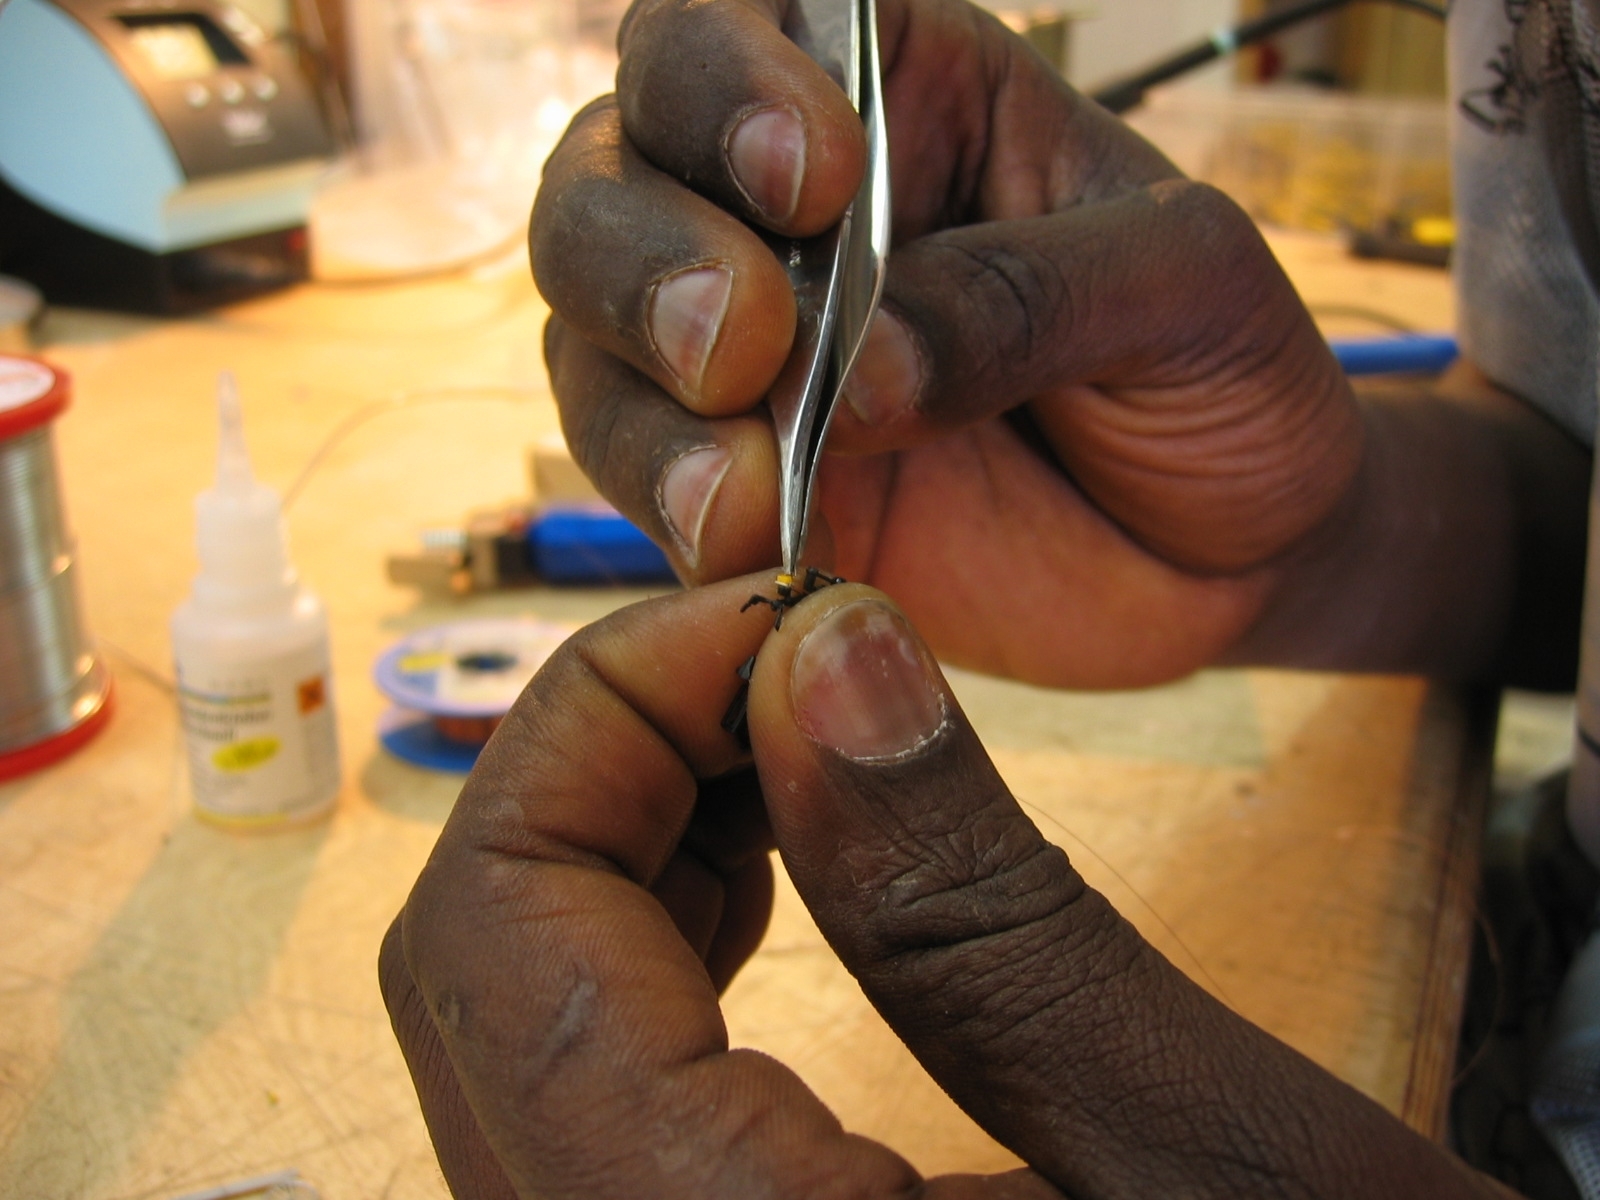
First the LEDs need to be welded. Then the LEDs can be attached as back and front lights by using glue and tweezers.
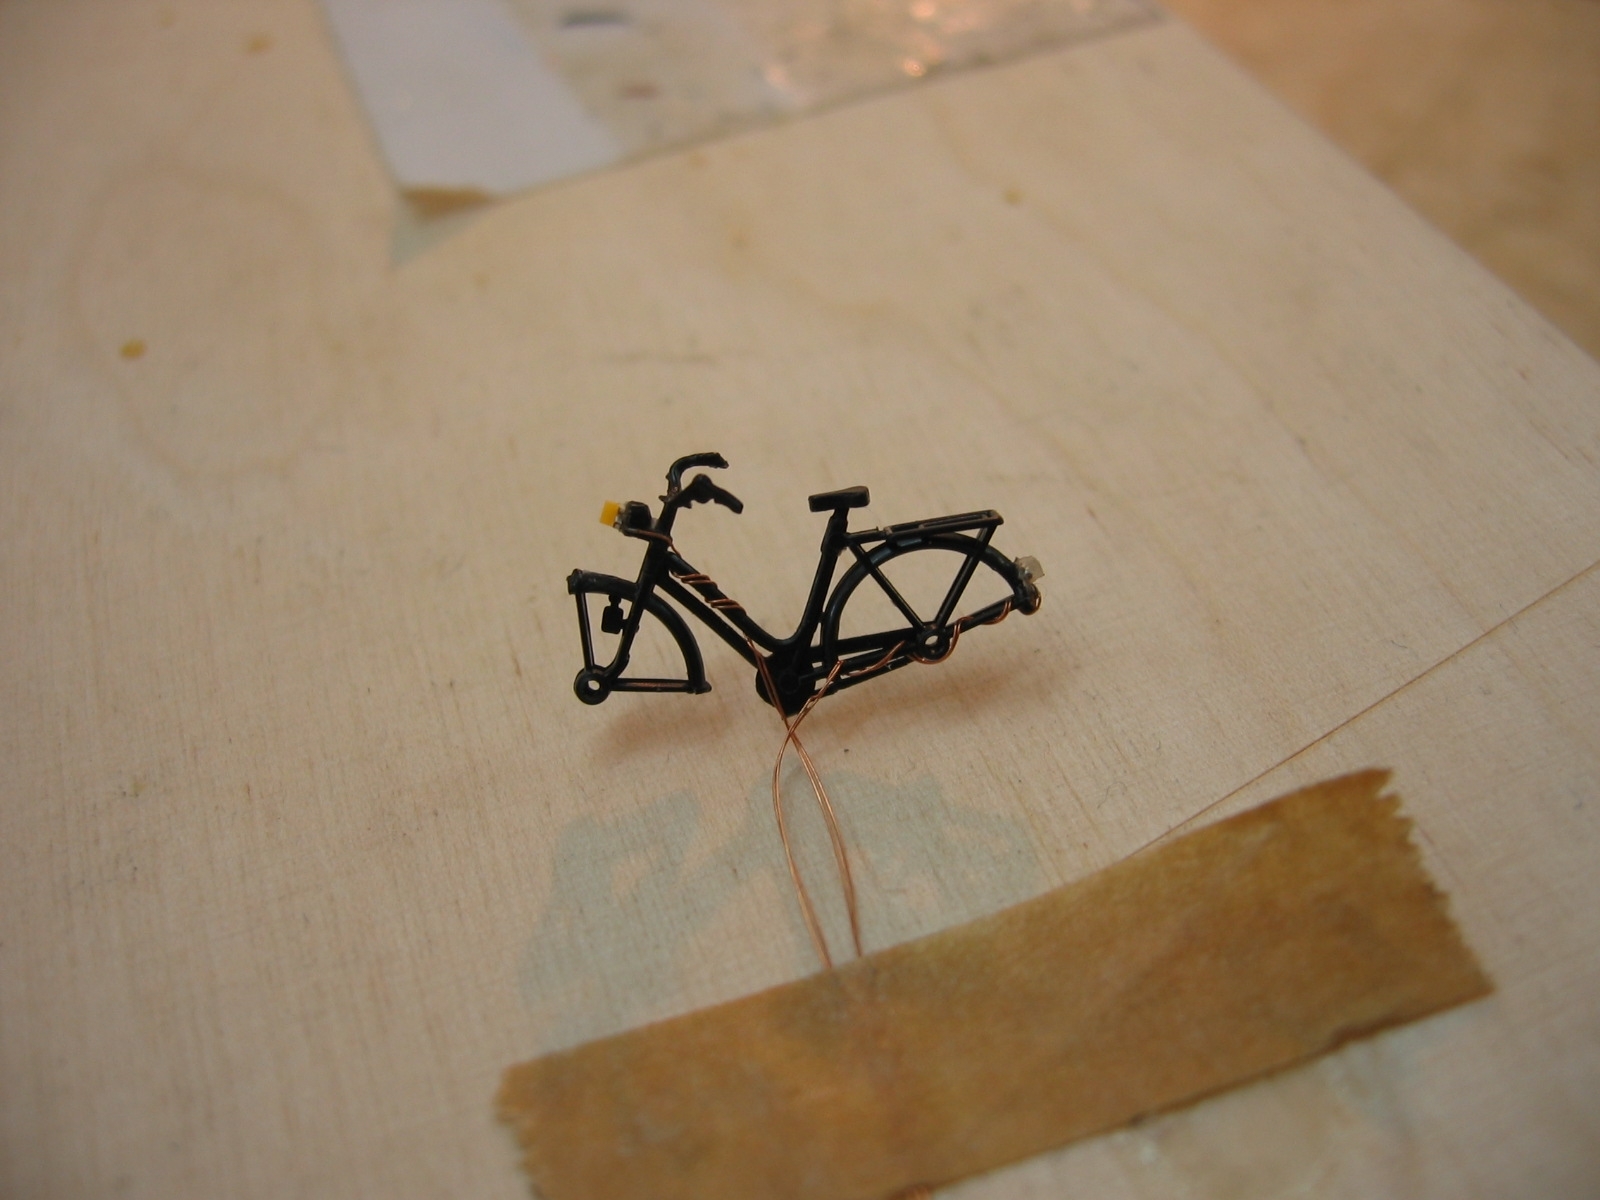
The enameled copper wire can then be wound around the bicycles frame, so they don’t stand out so much. Later they can be painted accordingly.
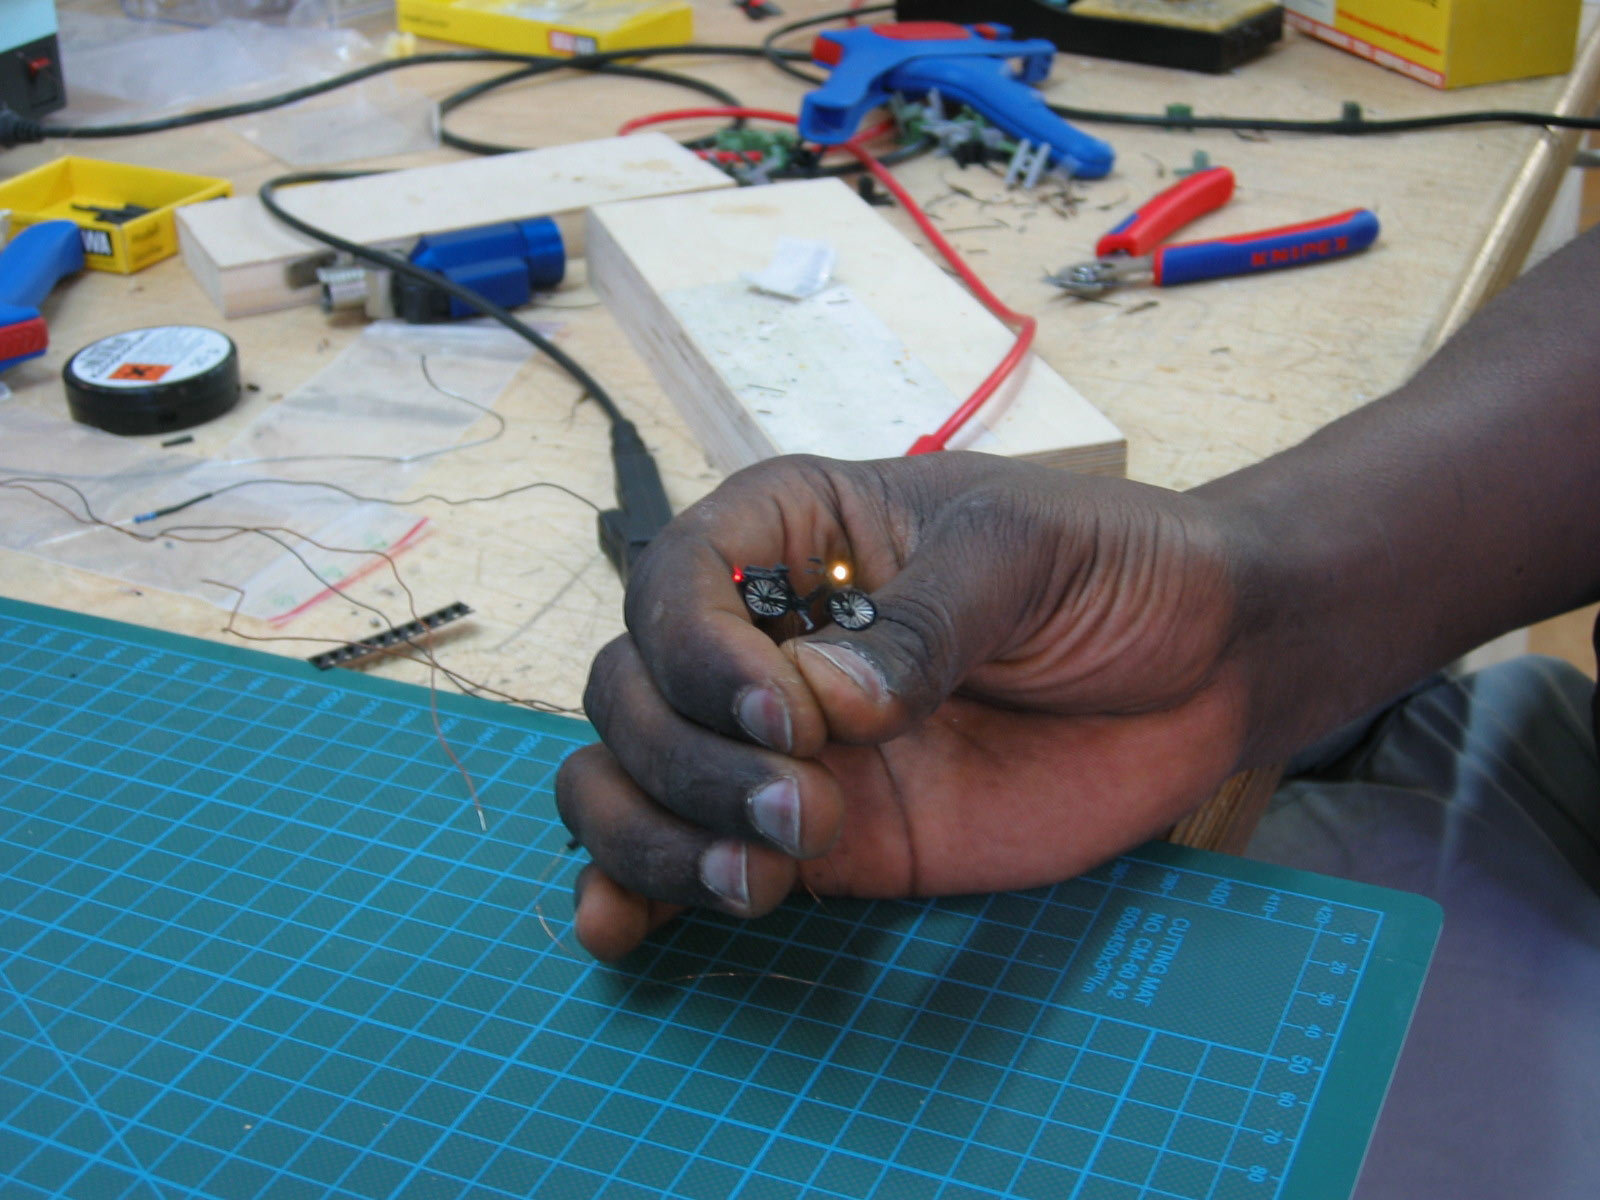
Next the lights are tested.
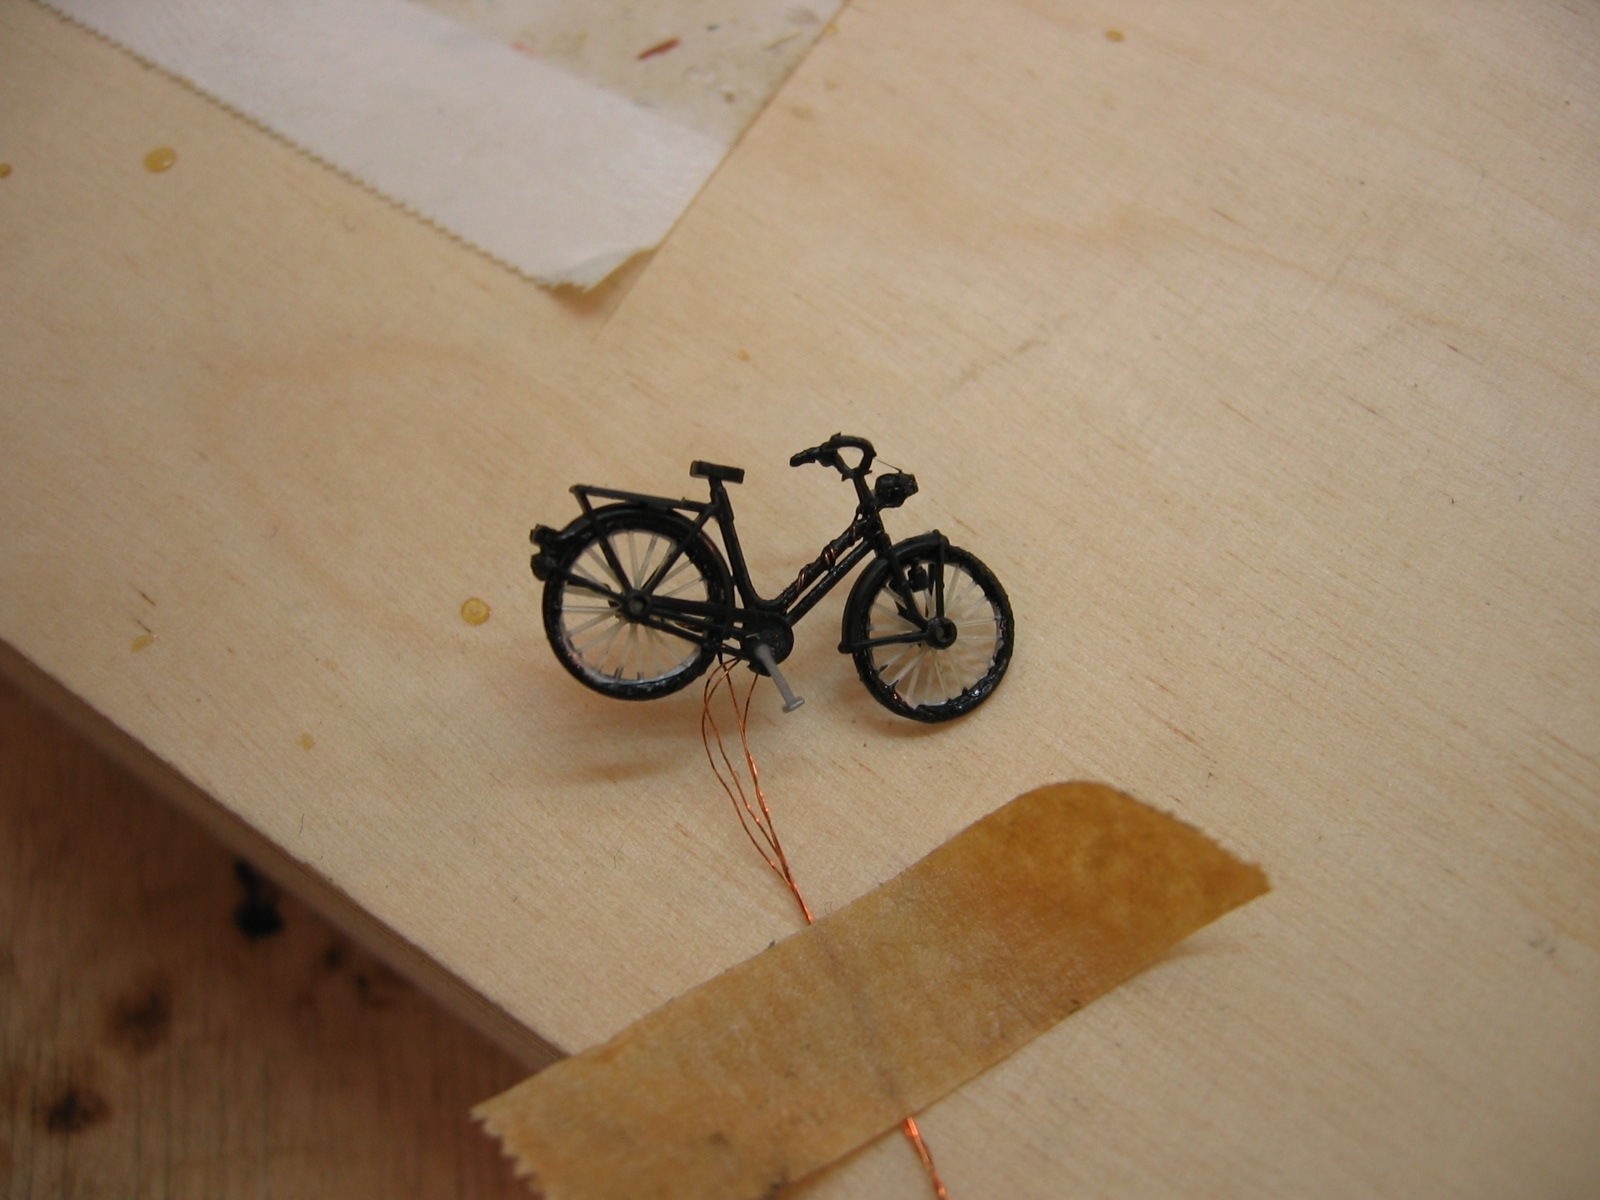
At last the wheels are attached and then the bike is ready.
